Who says you need a fancy ice cream maker to churn out creamy, dreamy scoops at home? Whether you’re a kitchen newbie or just don’t own the gear, this Homemade Ice Cream Without a Machine recipe is here to change your dessert game forever.
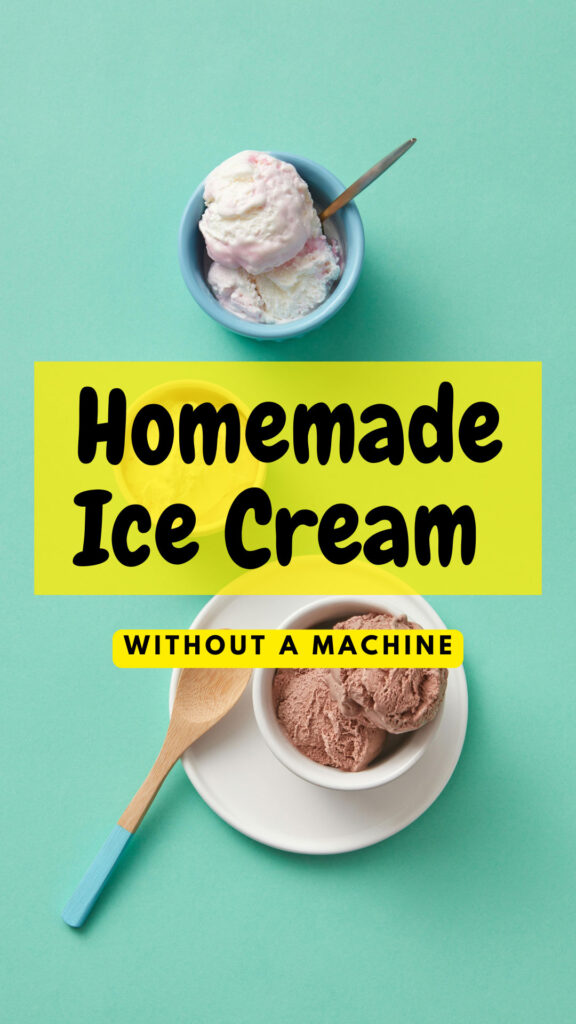
This recipe is no-cook, eggless, and uses only 3 base ingredients. And yes, it’s as creamy and rich as store-bought (if not better). Trusted, tested, and addictive.
Why You’ll Love This No-Machine Ice Cream
As someone who has made ice cream dozens of times without any equipment, I promise this method gives consistent, creamy results every single time.
Ingredients (Base for Vanilla Ice Cream – Makes ~1L)
- 2 cups (480 ml) heavy whipping cream (chilled)
- 1 can (400g) sweetened condensed milk
- 1½ tsp pure vanilla extract
Optional Add-ins:
- Chocolate chips, caramel swirls, crushed Oreos, fruit purée, nuts, coffee, cocoa powder, etc.
Quick Recipe Summary
- Prep Time: 10 minutes
- Freezing Time: 6–8 hours
- Total Time: 8 hours (mostly passive)
- Servings: 6–8 scoops
- Course: Dessert / Frozen Treat
- Calories: ~280 kcal per serving (varies by mix-ins)
Step-by-Step: How to Make Ice Cream Without a Machine
Step 1: Whip the Cream
In a cold mixing bowl, whip the chilled heavy cream using a hand mixer or stand mixer on medium-high speed until stiff peaks form. This takes about 3–4 minutes.
Pro Tip: Chill your bowl and beaters beforehand for faster results.
Step 2: Fold in Condensed Milk & Vanilla
In a separate bowl, mix sweetened condensed milk and vanilla extract.
Gently fold this into the whipped cream using a spatula. Mix slowly to keep the air intact—that’s your secret to creamy texture!
For chocolate ice cream, mix in 2 tbsp cocoa powder at this stage.
Step 3: Customize It (Optional)
Once the base is ready, fold in any flavor additions you love:
- Crushed Oreos for cookies & cream
- Mango purée for mango ice cream
- Instant coffee + chocolate chips for mocha
- Strawberry jam swirls for fruity vibes
- Chopped roasted nuts for a crunchy twist
Step 4: Freeze It Right
Pour the ice cream base into an airtight container. Smooth the top with a spoon or spatula.
Cover with plastic wrap or parchment paper before sealing with a lid. This prevents ice crystals from forming.
Place in the coldest part of your freezer and let it freeze for at least 6–8 hours, preferably overnight.
Step 5: Scoop & Serve
Before serving, let the ice cream sit at room temperature for 3–5 minutes to soften.
Scoop into cones, bowls, or straight into your mouth—no judgment here.
5 Easy Flavor Ideas to Try
| Flavor | Add-Ins |
|---|---|
| Chocolate | 2 tbsp cocoa powder + choco chips |
| Mango | ½ cup mango purée |
| Mocha | 1 tbsp instant coffee + choco chunks |
| Cookie Crumble | Crushed Oreos |
| Peanut Butter | 2 tbsp peanut butter swirled in |
Pro Tip: Swirl jams, syrups, or Nutella into the container before freezing for a gorgeous marbled effect.
Storage Tips
- Store in a freezer-safe airtight container
- Best enjoyed within 2 weeks for maximum creaminess
- Avoid frequent thawing and refreezing—scoop only what you need
Common Questions Answered
Q: Can I use Amul cream or low-fat cream?
A: You can, but the texture won’t be as airy. Full-fat (minimum 35% fat) cream is ideal for best results.
Q: What’s the best container for freezing?
A: Use a metal loaf pan or a plastic airtight container. Avoid glass as it can crack in the freezer.
Q: Is this recipe eggless?
A: Yes, completely egg-free!
Final Scoop
This Homemade Ice Cream Without a Machine recipe is perfect for lazy weekends, summer cravings, or when you just want something sweet without stepping out. It’s rich, customizable, and shockingly easy—even for beginners.
Once you try it, you’ll wonder why you ever bought store ice cream again.