Crispy Oven-Baked Keto Fried Chicken That Actually Works
Crispy oven-baked keto fried chicken might sound like an oxymoron, but I’m about to prove you wrong.
After countless soggy disasters and coating catastrophes, I’ve cracked the code to getting that perfect crunch without the carbs or the deep fryer mess.
KEY INFO
Prep time: 15 minutes
Cook time: 35 minutes
Total time: 50 minutes
Servings: 6
Difficulty level: Easy
Dietary tags: Keto, Low-carb, Gluten-free
Per serving: 2g net carbs | 41g protein | 35g fat
EQUIPMENT NEEDED
- Large baking sheet
- Wire cooling rack (game-changer for crispiness)
- 3 mixing bowls for dredging station
- Meat thermometer
- Tongs
Simple alternatives: No wire rack? Flip halfway through cooking. No thermometer? Cut into thickest piece – juices should run clear.
INGREDIENTS
For the chicken:
- 3 lbs (1.4kg) chicken pieces (thighs and drumsticks work best)
- 2 large eggs
- ½ cup (120ml) heavy cream
For the coating:
- 1½ cups finely crushed pork rinds
- ¾ cup (75g) almond flour
- ½ cup (50g) grated parmesan cheese
- 3 tablespoons melted butter
Seasonings:
- 2 teaspoons garlic powder
- 1½ teaspoons onion powder
- 1½ teaspoons smoked paprika
- 1 teaspoon black pepper
- 1 teaspoon Italian seasoning
- 1 teaspoon salt
Substitutions: Mayo instead of cream for dairy-free | Coconut flour instead of almond flour for nut-free (use ½ cup)
METHOD
- Preheat your oven to 425°F (220°C). Place wire rack on baking sheet and line with parchment paper underneath for easy cleanup.
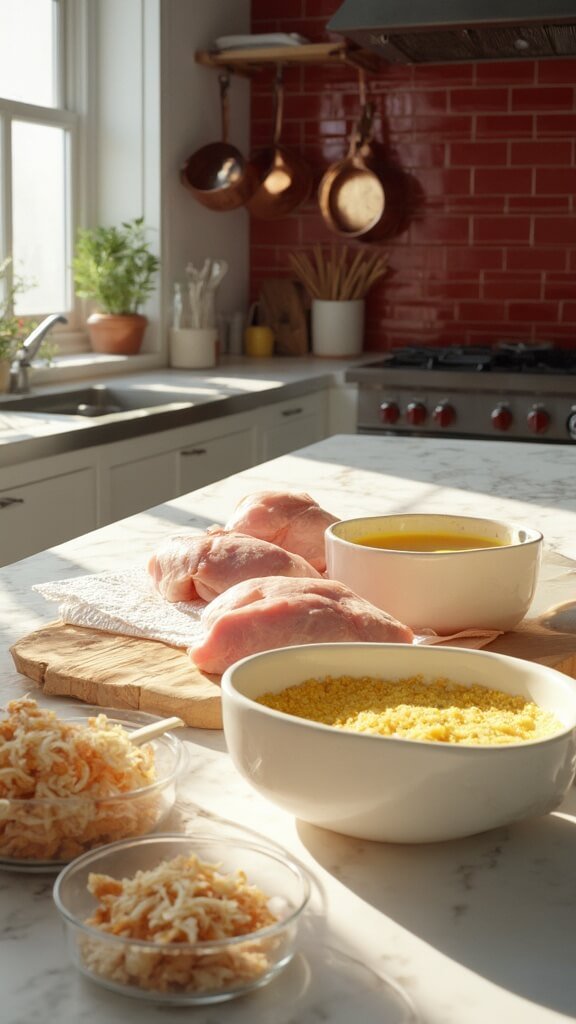
- Pat chicken completely dry with paper towels. This step makes or breaks your coating – any moisture will create steam and soggy breading.
- Set up your dredging station. Bowl 1: Beat eggs and cream together. Bowl 2: Mix all dry coating ingredients until well combined.
- Season chicken pieces generously with salt and pepper on all sides.
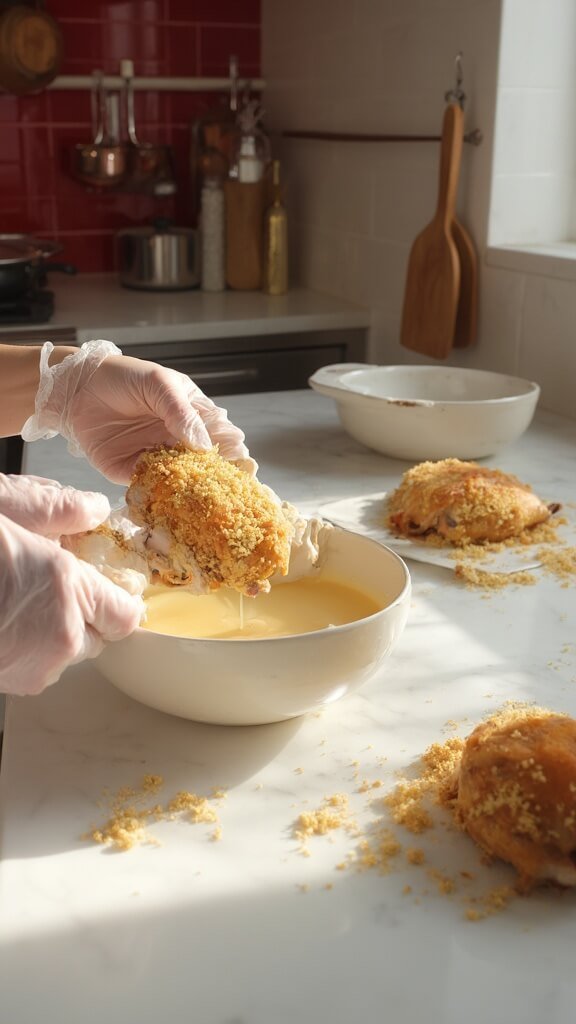
- Work one piece at a time. Dip chicken in egg mixture, letting excess drip off. Press firmly into pork rind mixture, coating completely and pressing breading into crevices.
- Place coated chicken on wire rack. Don’t overcrowd – pieces shouldn’t touch each other.
- Brush tops with melted butter for extra golden color and flavor.
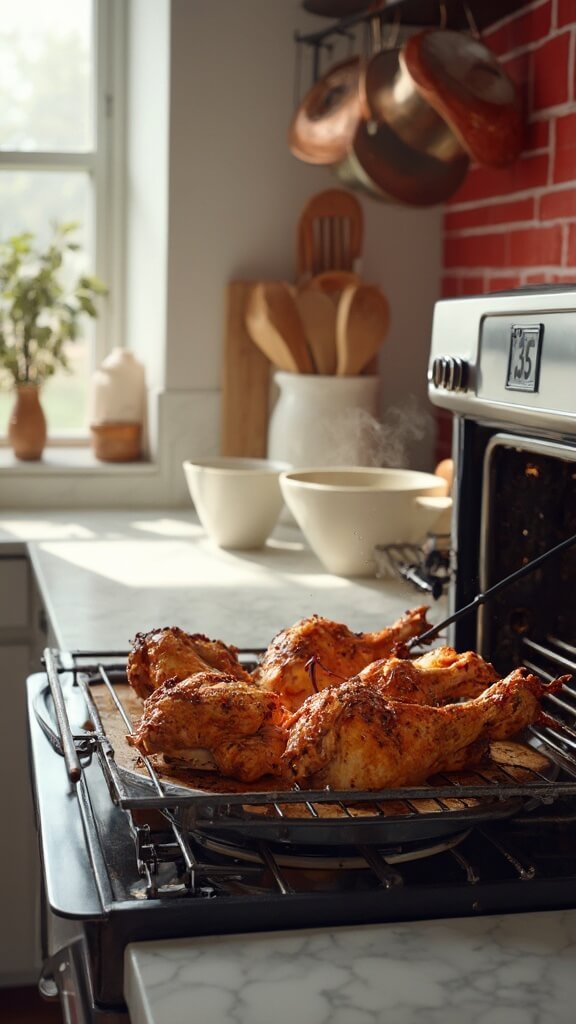
- Bake for 35-45 minutes until coating is deep golden brown and internal temperature reaches 165°F (74°C) at the thickest part.
- Rest for 5 minutes before serving to let juices redistribute.

CRUCIAL TIPS
- Crush pork rinds finely – chunky pieces won’t stick properly
- Press coating firmly onto chicken – don’t just dip and pray
- Use the wire rack – it allows air circulation for maximum crispiness
- Don’t flip if using a wire rack – it’s unnecessary and risks losing coating
- Check temperature in thickest part near the bone, not touching bone
STORAGE & SCALING
Storage: Refrigerate up to 4 days in airtight container. Reheat in 350°F oven for 10 minutes to restore crispiness.
Scaling: Recipe doubles easily – just use additional baking sheets to avoid overcrowding.
Air fryer option: Cook at 380°F for 25-30 minutes, flipping once halfway through.
COMMON MISTAKES TO AVOID
- Wet chicken = soggy coating – always pat completely dry
- Skipping the wire rack – your bottom will be soggy without air circulation
- Overcrowding the pan – steam is crispy coating’s enemy
- Not pressing breading on – gentle dipping won’t cut it
VARIATIONS THAT WORK
- Spicy kick: Add 1 teaspoon cayenne pepper to coating mixture
- Fully carnivore: Skip almond flour, double the pork rinds and parmesan
- Buffalo style: Toss finished chicken in sugar-free buffalo sauce
- Italian herb: Add dried basil, oregano, and rosemary to coating

The secret to this recipe isn’t just the ingredients – it’s the technique.
I’ve served this to die-hard fried chicken fans who couldn’t believe it was baked and keto-friendly.
The combination of pork rinds and parmesan creates an incredibly satisfying crunch that rivals any traditional breading.
Your kitchen won’t smell like a fast-food joint, and you won’t be left with a pot of used oil to dispose of.
Just pure, crispy, guilt-free comfort food that actually fits your macros.
Trust the process, follow the steps exactly as written, and prepare to be amazed by what your oven can accomplish.