
Crispy Baked Keto Zucchini Fries Recipe
Ever tried making crispy baked keto zucchini fries only to end up with soggy, disappointing sticks that taste nothing like proper fries?
I’ve been there too many bloody times.
The trick isn’t just slapping some cheese on zucchini and hoping for the best. It’s about nailing the technique – getting that moisture out, creating the perfect coating, and timing everything just right.
After countless kitchen disasters (and some spectacular wins), I’ve cracked the code for zucchini fries that actually deliver on their promise. These beauties come out golden, crispy, and so satisfying you’ll forget they’re basically vegetables in disguise.

KEY INFO
Prep time: 15 minutes
Cook time: 20 minutes
Total time: 35 minutes
Servings: 4
Difficulty level: Easy
Dietary tags: Keto, Low-carb, Gluten-free, Vegetarian
EQUIPMENT NEEDED
Essential tools:
• Large baking sheet
• Parchment paper or silicone mat
• Two shallow bowls (for dredging)
• Sharp chef’s knife
• Clean kitchen towels
Simple alternatives:
• Well-greased foil instead of parchment
• Air fryer instead of oven (even crispier results)
• Food processor for grating cheese if you’re feeling fancy
INGREDIENTS
Main components:
• 2 medium zucchinis (about 1 lb/450g)
• 1 cup grated Parmesan cheese (100g)
• 2 large eggs, beaten
• 1 cup almond flour (112g) [or crushed pork rinds for extra crunch]
Seasonings:
• 1 tsp Italian seasoning
• 1 tsp garlic powder
• ½ tsp black pepper
• ½ tsp paprika [smoked paprika if you’re feeling adventurous]
Optional for serving:
• Fresh parsley, chopped
• Lemon wedges
• Keto ranch or garlic aioli for dipping
METHOD
1. Preheat your oven to 425°F (220°C) and line a large baking sheet with parchment paper.
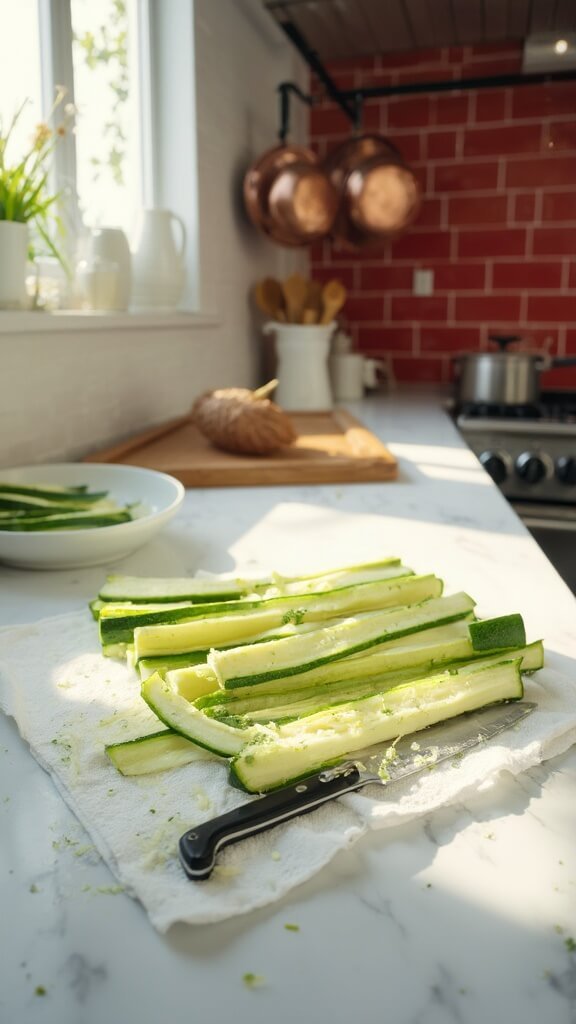
2. Wash and thoroughly dry the zucchinis – this step is absolutely critical for crispiness.
3. Slice zucchinis into fry-shaped sticks about 4 inches long and ½ inch thick. Keep them uniform so they cook evenly.
4. Pat the zucchini sticks completely dry with clean kitchen towels. I mean bone dry – any moisture is the enemy of crispy fries.

5. Set up your dredging stations in two shallow bowls:
• Bowl 1: Beaten eggs
• Bowl 2: Mix together Parmesan, almond flour, and all seasonings
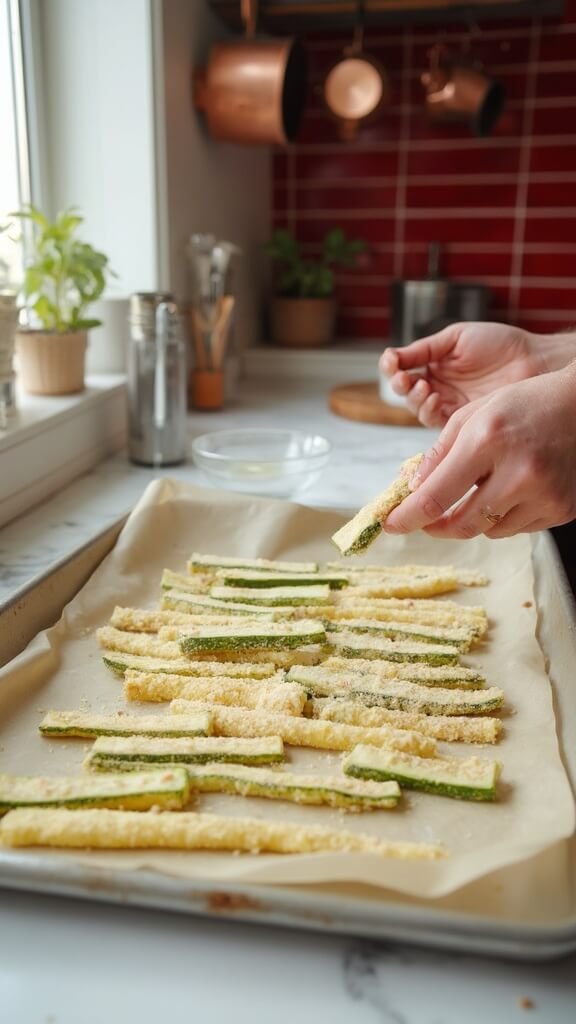
6. Use the “one hand wet, one hand dry” method to coat each zucchini stick: Dip in egg with your left hand, then roll in the cheese mixture with your right hand. Press the coating firmly onto each stick.
7. Arrange fries on the baking sheet in a single layer – don’t overcrowd them or they’ll steam instead of crisp.
8. Bake for 15-20 minutes until golden brown, flipping halfway through for even browning.
9. Optional crispy boost: Switch to broil for the final 2-3 minutes, watching carefully to prevent burning.
10. Serve immediately while they’re at their crispiest peak with your favorite keto-friendly dipping sauce.

CRUCIAL TIPS
For maximum crispiness:
• Dry those zucchinis obsessively – moisture is your nemesis
• Don’t crowd the pan – give each fry breathing room
• Press the coating on firmly – it needs to stick like glue
Temperature matters:
• 425°F is your sweet spot – hot enough for browning, not so hot they burn
• Flip at the 10-minute mark for even golden color
• Use a timer – these can go from perfect to burnt quickly
Common mistakes to dodge:
• Skipping the drying step (soggy city)
• Overcrowding the baking sheet (steam bath disaster)
• Using wet hands for the dry coating (clumpy mess)
STORAGE & SCALING
Storage reality check:
These are best eaten fresh and hot.
Leftovers can be stored in the fridge for 2 days, but they’ll lose their crunch.
Reheating magic:
Pop them back in a 375°F oven or air fryer for 3-4 minutes to crisp them up again.
Never use the microwave – that’s a one-way ticket to soggy town.
Scaling up:
Double or triple the recipe easily, just use multiple baking sheets.
The coating ratios stay the same regardless of batch size.
Brilliant variations:
• Dairy-free: Swap Parmesan for nutritional yeast
• Extra keto: Use crushed pork rinds instead of almond flour
• Spice lovers: Add cayenne pepper or chili flakes to the coating
• Mediterranean twist: Add dried oregano and lemon zest
The beauty of this recipe lies in its simplicity and adaptability. Once you nail the basic technique, you can play around with different seasonings and coatings to keep things interesting.
Trust me, when you pull these golden beauties out of the oven and hear that satisfying crunch on the first bite, you’ll wonder why you ever bothered with regular fries.