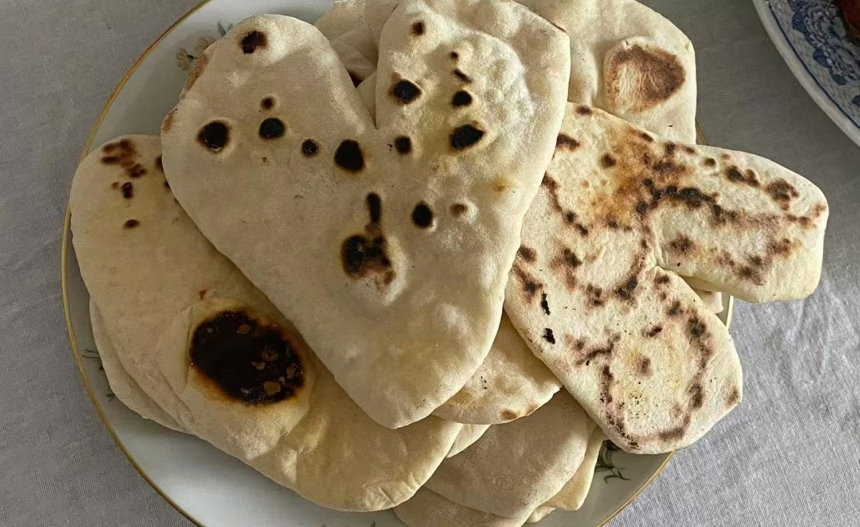
For many, roti is more than just bread — it’s a warm, comforting staple that completes a meal. Whether paired with a fragrant curry, enjoyed with lentils, or eaten simply with butter, a soft, puffed roti instantly makes any dish feel more satisfying. Yet, many home cooks struggle to get that light, airy texture.
Learning how to make fluffy roti isn’t just about following a recipe — it’s about understanding the right techniques and timing.
Choosing the Right Flour
The foundation of a fluffy roti lies in the flour. Traditional roti uses atta, a finely milled whole wheat flour with the perfect balance of softness and elasticity. If atta isn’t available, choose fine whole wheat flour labeled for chapati or roti. Coarser varieties often lead to dense, heavy bread that resists puffing.
Mixing and Resting the Dough
Fluffy roti starts with well-hydrated, elastic dough. Gradually add warm water to your flour with a pinch of salt, mixing until it comes together.
Knead for about 8–10 minutes until smooth. This kneading builds gluten, which helps trap steam inside the roti as it cooks.
Once kneaded, let the dough rest under a damp cloth for around 20 minutes. Resting allows the gluten to relax, making rolling easier and preventing the dough from shrinking back.
Rolling for Even Thickness
Rolling the dough evenly is critical. Uneven circles with thick edges and thin centers won’t puff well. Each portion should be rolled into a uniform disc so it cooks consistently from the middle to the outer rim.
Lightly dust with flour if needed, but avoid using too much, as it can make the roti dry.
Cooking on the Right Heat
The cooking stage is where the magic happens. Heat a skillet or tawa until it’s hot — medium-high heat is ideal. Place the rolled roti on the surface and cook until small bubbles appear, then flip.
The second side should cook slightly longer, allowing steam to form inside. A final flip, combined with gentle pressing along the edges, encourages the roti to puff beautifully.
Common Mistakes to Avoid
A few small adjustments can make all the difference:
- Avoid adding excess flour during rolling, which can make the roti dry.
- Don’t cook on low heat — it prevents proper steam buildup.
Keeping Roti Soft After Cooking
Freshly cooked roti should be kept warm to stay soft. Stack them in a clean kitchen towel or store them in an insulated container. This traps steam, keeping the bread tender until it’s ready to serve.
Variations to Try
Once you’ve mastered how to make fluffy roti, experiment with variations like garlic roti, stuffed roti with potatoes or spinach, or brushing the bread with melted butter for a richer taste. These small changes can turn a simple side into the highlight of the meal.
Final Thoughts
The secret to how to make fluffy roti isn’t hidden in a complicated recipe — it’s in the small details. Choosing the right flour, kneading properly, rolling evenly, and cooking with the right heat and timing will consistently give you soft, puffed results. Like any traditional skill, it improves with practice. The first time you watch your roti inflate into a perfect round, you’ll know you’ve mastered a timeless kitchen art.